

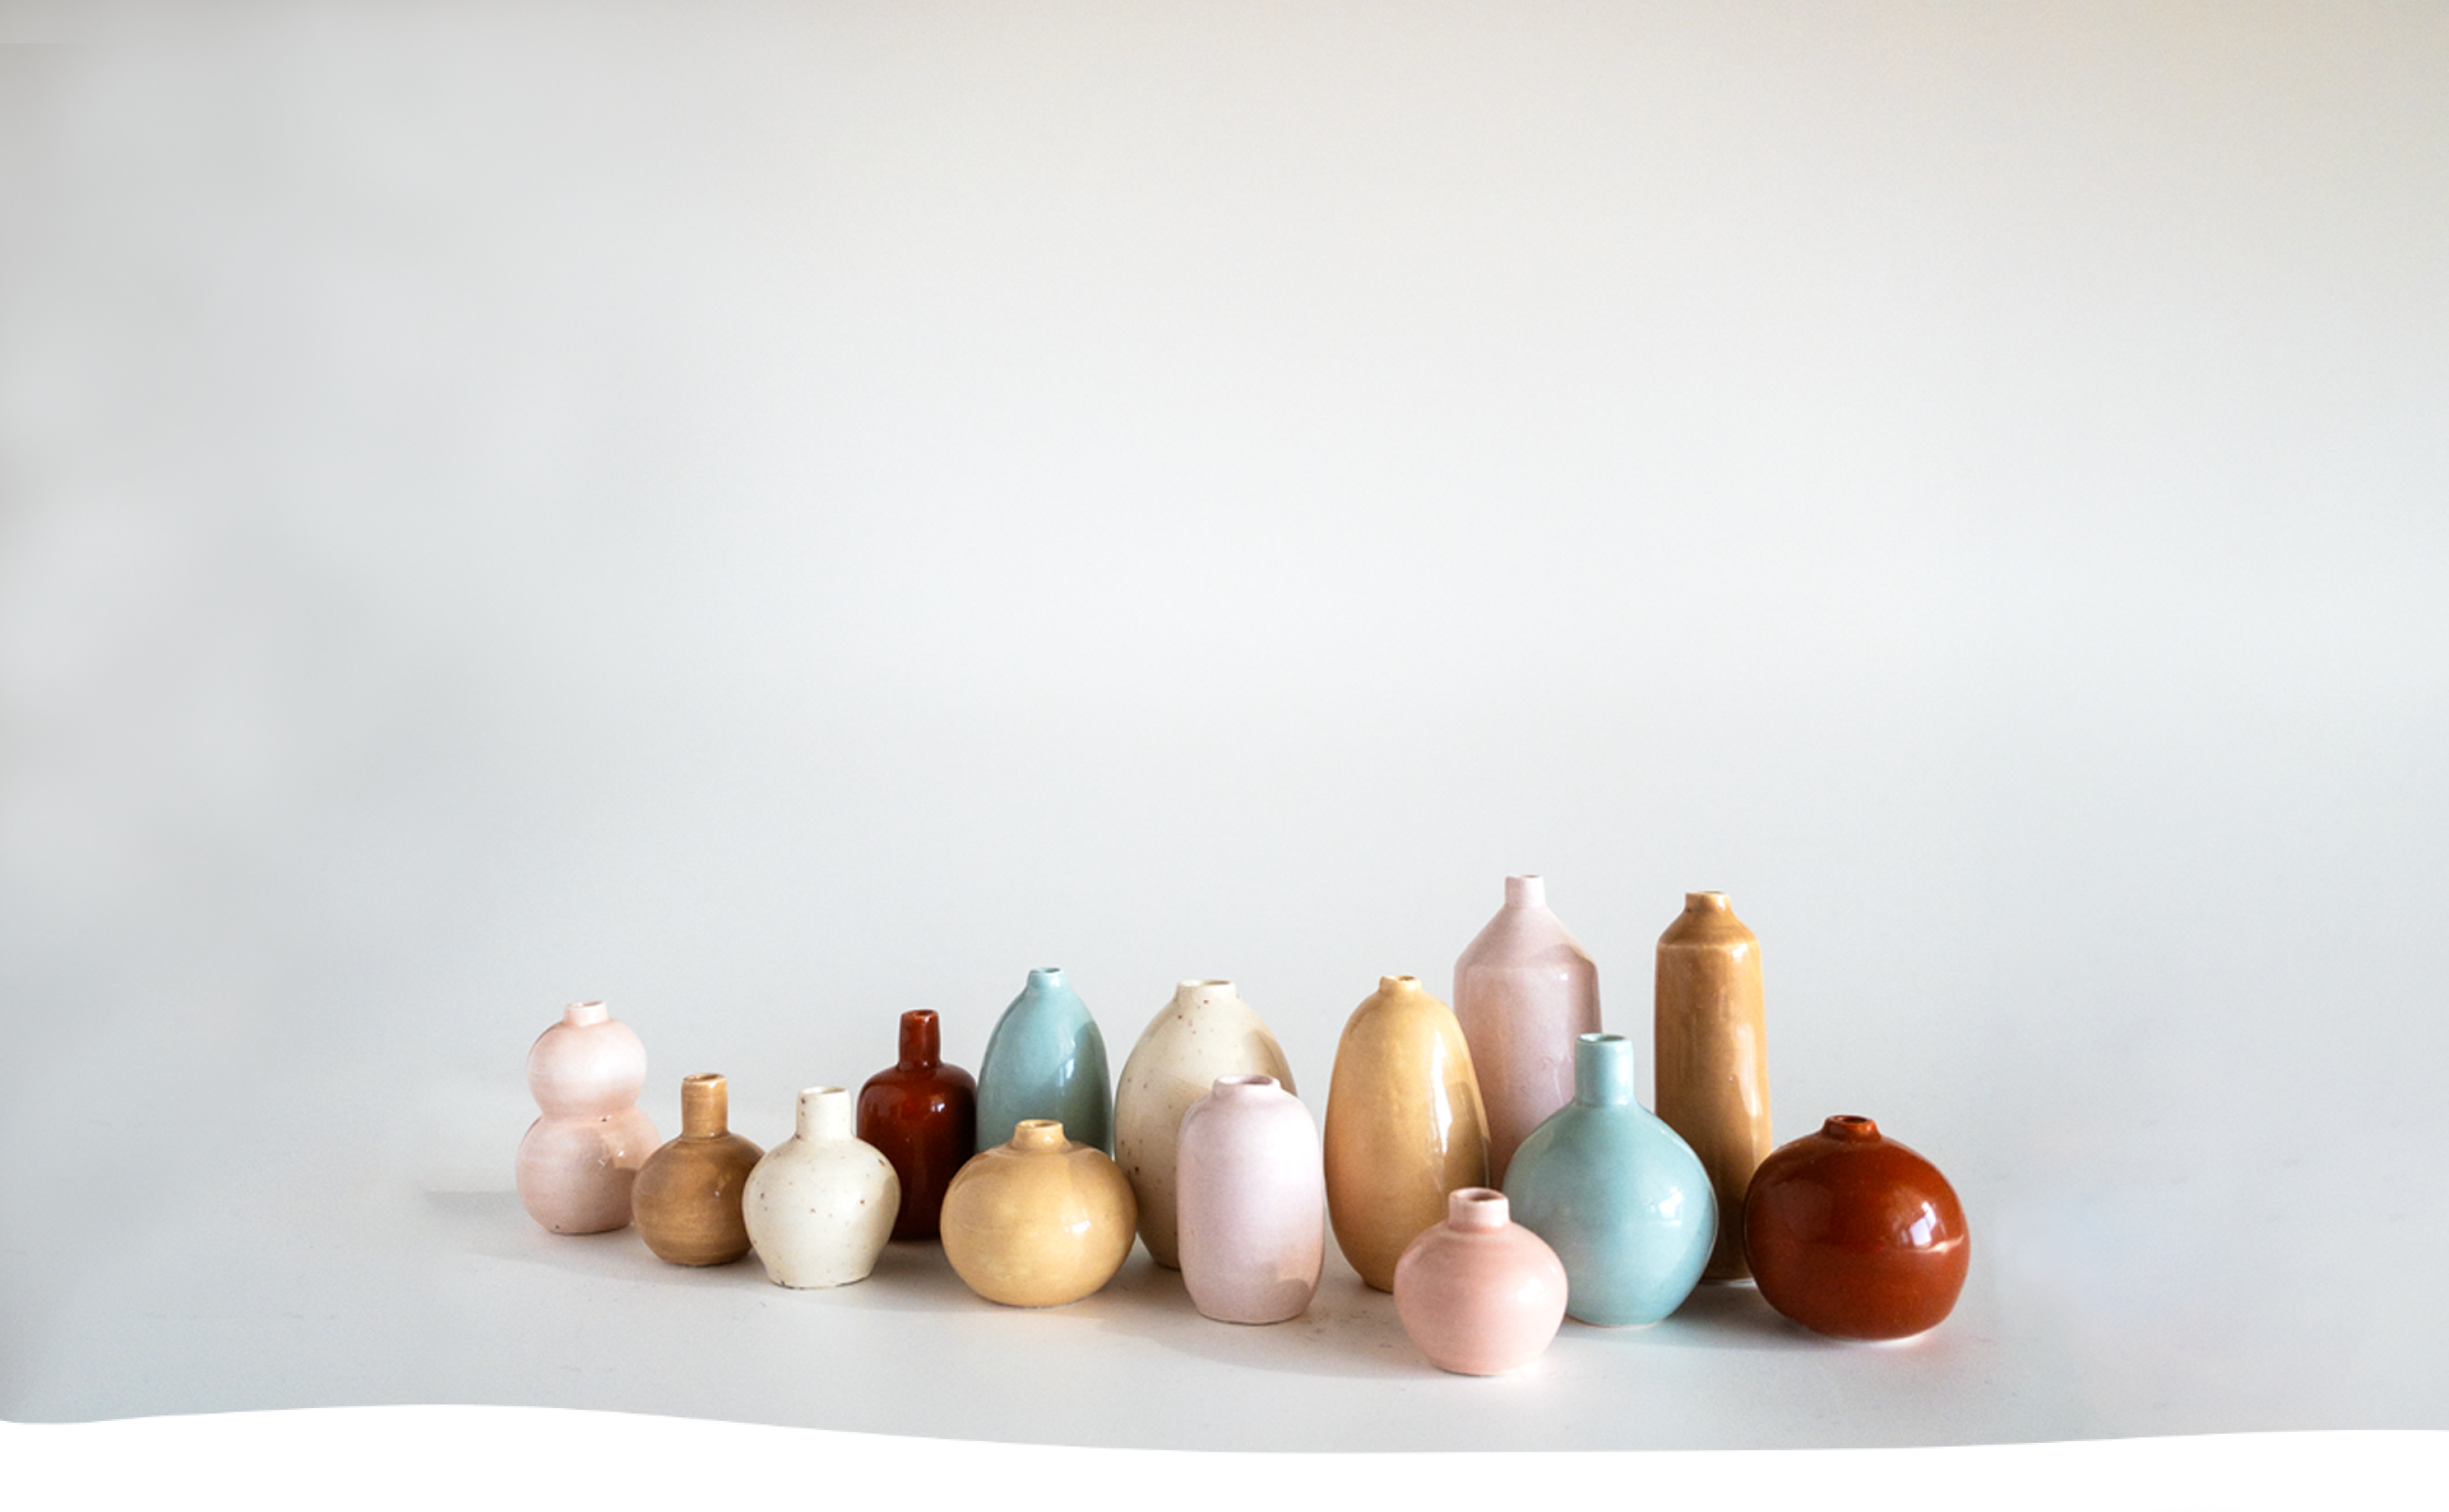


A handmade ceramic mug or bowl may look simple once it is finished, but getting from a lump of clay to a durable object takes several carefully managed steps. The clay must be prepared, shaped, dried, and fired. Many pieces also receive a glaze that adds colour, texture, or a suitable surface finish.
Understanding the process helps explain why pottery cannot always be completed in a single sitting and why small details, such as wall thickness and drying conditions, matter so much. This guide follows a piece of clay through the main stages of ceramic making, from its initial preparation to its final inspection, so you can see what happens at each stage and why it matters.
Preparing the Clay Before Shaping
Before a potter begins forming a bowl, mug, or decorative object, the clay needs to have a workable and reasonably consistent texture. Its preparation depends on the clay body, its moisture level, and the type of piece being made.
One common preparation technique is wedging, which involves pressing, folding, and working the clay to improve its consistency and help reduce trapped air. Clay that is too stiff can be difficult to shape, while clay that is excessively wet may struggle to hold its form.
Preparation also involves choosing an appropriate clay body. Different clays behave differently during drying and firing, and not every clay is suitable for every technique or kiln temperature.
Well-prepared clay should be pliable enough to work with while remaining firm enough to support the intended shape. Taking time at this stage makes the next steps easier and helps reduce avoidable problems as the piece begins to take form.
Shaping Clay by Hand or on a Pottery Wheel
Once the clay is prepared, the potter begins shaping it into the intended form. The technique depends on the design, the type of clay, and the desired finish. Two common approaches are handbuilding and wheel throwing.
Handbuilding: Shaping Clay by Hand
Handbuilding involves forming clay without a rotating pottery wheel. Common techniques include pinching, where fingers shape the clay; coiling, where rolled strands are joined together; and slab building, where flattened sheets of clay are assembled into an object.
These methods allow potters to create a wide range of forms, from simple bowls to mugs and decorative pieces. For those who want to continue developing their pottery skills, an open studio pottery session can provide an opportunity to practise techniques and explore personal projects. Mini Pottery Studio offers an Open Studio experience for people interested in spending more time working with clay. If you’re new to pottery, you can also explore a guided matcha bowl-making workshop as another way to experience handbuilding.
Wheel Throwing: Forming Clay on a Rotating Wheel
Wheel throwing uses a spinning wheel to shape clay. The potter centres the clay, opens the middle, and gradually pulls the walls upward to form a balanced vessel.
Whichever method is used, maintaining even wall thickness and a stable base is important. These details help the piece hold its shape during drying and reduce the risk of uneven shrinkage or warping.
Ready to Try Working With Clay?
Discover how it feels to shape clay and begin your own pottery-making journey. No previous pottery experience is needed to take your first creative step.
Refining the Shape and Adding Details
After the basic form is created, the potter refines its shape and adds details that give the piece its character. Edges can be smoothed, uneven surfaces adjusted, and excess clay trimmed away once the piece becomes firm enough to handle without losing its form.
Additional elements, such as a mug handle, must be attached carefully. The joining surfaces are often scored and moistened with slip—a mixture of clay and water—to help the parts bond securely. Poorly joined components may separate during drying or firing.
Potters can also add texture, carved patterns, or decorative details while the clay is still workable. These finishing touches influence both the appearance and feel of the ceramic piece.
For example, creating a comfortable mug handle requires attention to its size, placement, and connection to the body. Mini Pottery Studio’s mug-making workshop offers a relevant hands-on experience for exploring this process.
Drying the Clay Slowly and Evenly
After shaping and refining, the pottery needs time to dry before it can be fired. During this stage, moisture gradually evaporates from the clay, causing the piece to shrink slightly. Drying too quickly or unevenly can lead to cracks, warping, or separation at joined areas.
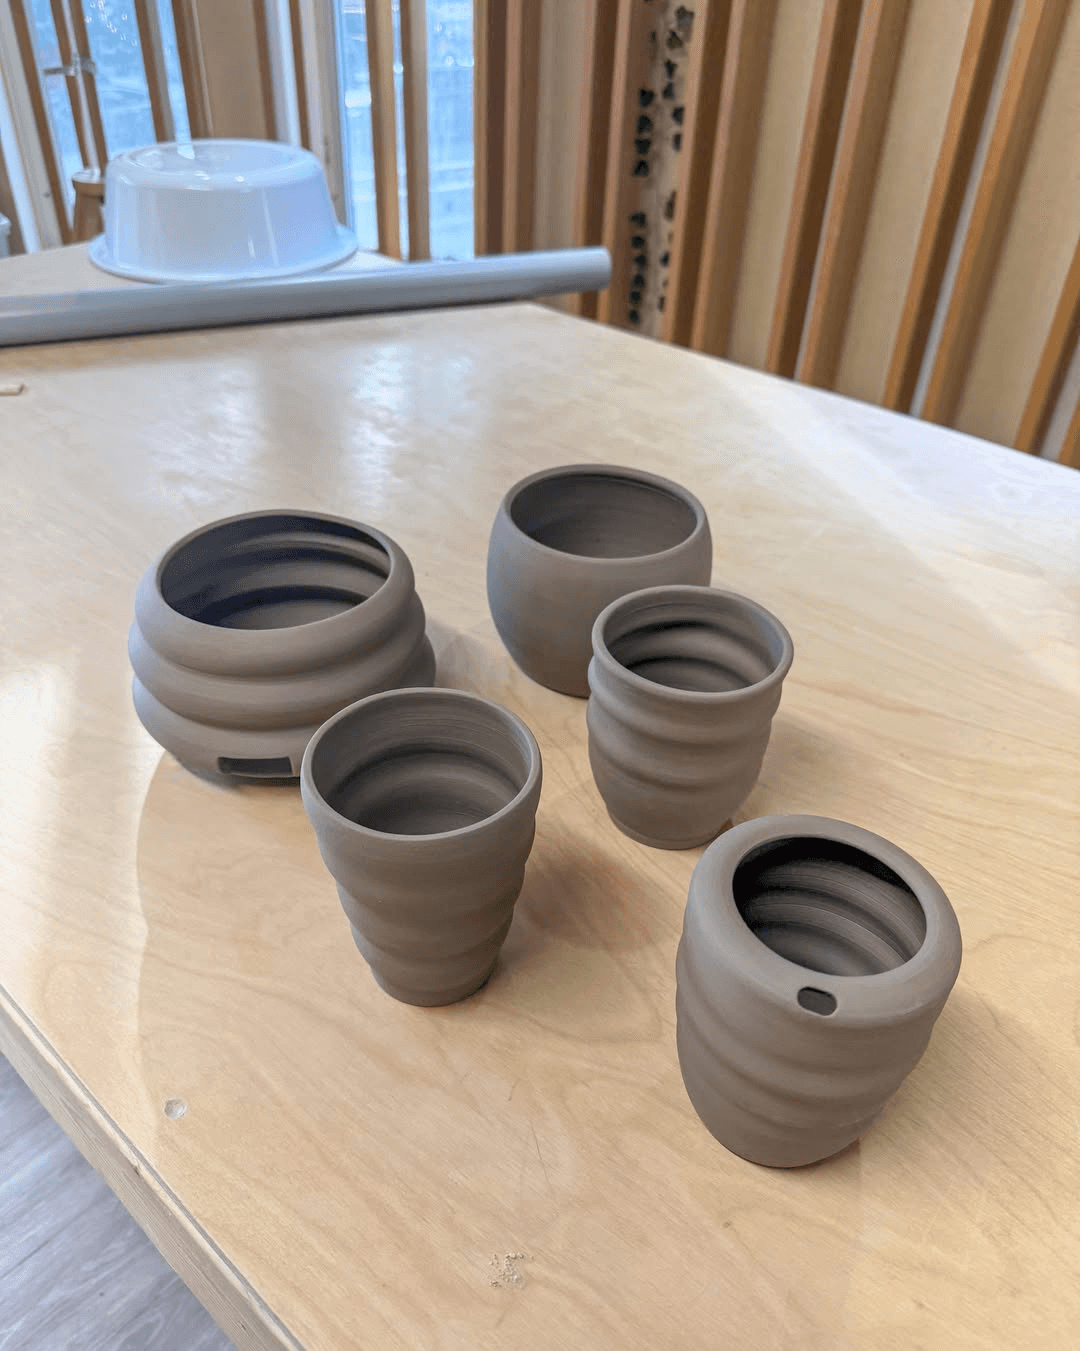
Potters monitor the clay’s firmness as it dries. Two important stages are:
Leather-hard: The clay has lost some moisture but remains workable. It is firm enough to handle carefully and may still allow trimming or adjustments.
Bone-dry: The clay has released nearly all its removable moisture and feels dry and relatively light. It is ready for the first firing when properly prepared.
Drying time varies depending on the piece’s size, thickness, clay type, and surrounding conditions. A thick base may dry more slowly than thin walls, creating uneven shrinkage if moisture levels are not managed carefully.
Patience matters at this stage. Allowing the entire piece to dry evenly helps it withstand the heat of the kiln more safely. Even when the surface feels dry, the inside may retain moisture, so potters need to assess the piece before firing.
First Kiln Firing: Bisque Firing
Once the clay is completely dry, it is ready for its first trip into the kiln. At this stage, the unfired piece is called greenware. Although it may feel hard and solid, it remains fragile and can still be damaged easily.
During bisque firing, the kiln heats the pottery in a controlled process that changes the clay permanently. The piece becomes harder and more durable to handle, while usually remaining porous enough to absorb glaze during the next stage.
The temperature and firing schedule depend on the clay body and the intended result. Potters must follow suitable firing instructions rather than relying on a single temperature for every type of clay.
It is also important that the pottery is thoroughly dry before entering the kiln. Moisture trapped inside the clay can turn into steam as the temperature rises, potentially causing the piece to crack or break.
Bisque firing prepares the ceramic form for glazing and decoration, bringing it one step closer to becoming a finished piece.
Glazing and Decorating the Ceramic Surface
After bisque firing, the pottery can be decorated and glazed. Glaze is a specially formulated coating that melts during firing to create a glass-like surface. Depending on its composition, it can produce a glossy, matte, transparent, or coloured finish.
Potters apply glaze using different methods, including brushing, dipping, or pouring. The choice depends on the shape of the piece, the desired effect, and the glaze being used. Decorative details can also be created with underglazes, coloured slips, carving, or textured patterns.
Glazing requires care because the coating may look different after firing. Its final colour and texture depend on the glaze formulation, clay body, application thickness, and firing conditions. The bottom of a piece also needs appropriate preparation so glaze does not fuse it to the kiln shelf.
Not every ceramic object needs glaze; some pieces are left unglazed for a natural finish. However, pottery intended for food or drink must have a suitable, properly fired surface for its intended use.
Make Something That’s Uniquely Yours
From the shape of a mug to the details on a matcha bowl, handmade pottery gives you room to express your creativity. Explore a workshop and experience the process yourself.
Final Firing and Inspecting the Finished Piece
After glazing, the pottery returns to the kiln for its final firing. The heat causes the glaze to mature and form a durable surface, while the ceramic body develops properties suited to its clay type and firing conditions.
The correct firing schedule is essential. Different clay bodies and glazes require compatible temperatures, and an unsuitable combination can affect the finish or damage the piece. Potters follow the recommended firing range for the materials they use.
Once firing is complete, the kiln must cool sufficiently before the pottery can be removed safely. The finished piece is then inspected for cracks, sharp edges, uneven glaze coverage, and other defects. The base is checked too, particularly if glaze could have collected where the piece touches the kiln shelf.
If everything is satisfactory, the pottery is ready to be used or displayed. This final inspection helps ensure that the piece meets its intended purpose and has the finish the potter planned.
The Pottery-Making Process at a Glance
Stage | What happens | Why it matters |
|---|---|---|
1. Clay preparation | Clay is worked to achieve a consistent, workable texture. | Makes shaping easier and helps reduce avoidable problems. |
2. Shaping | Clay is formed by handbuilding or wheel throwing. | Establishes the piece’s form, proportions, and structure. |
3. Refining and detailing | Edges are smoothed, surfaces refined, and components attached. | Improves the shape, finish, and construction. |
4. Drying | Moisture gradually evaporates from the clay. | Helps reduce cracking and warping before firing. |
5. Bisque firing | Dry greenware undergoes its first kiln firing. | Hardens the piece and prepares it for glazing. |
6. Glazing and decorating | A glaze or other decorative treatment is applied. | Adds colour, texture, and the intended surface finish. |
7. Final firing | The glazed piece is fired again under suitable conditions. | Develops the final ceramic surface and finish. |
8. Final inspection | The cooled piece is checked for defects. | Helps confirm that it is suitable for its intended use. |
What Determines the Final Appearance of Pottery?
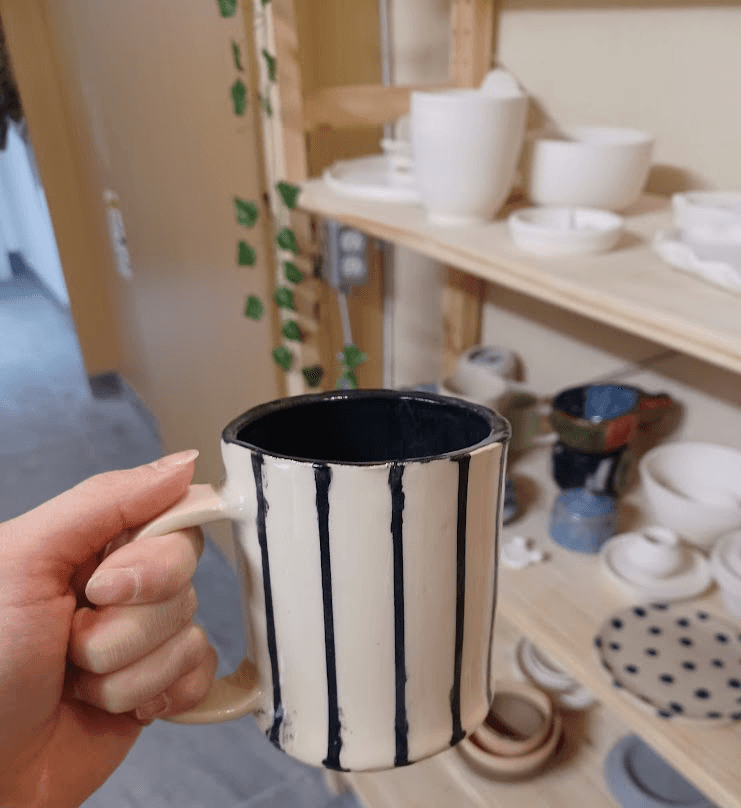
Several factors influence how a finished ceramic piece looks and performs. The clay body affects its colour, texture, and firing characteristics, while the shaping method determines its form and proportions. Wall thickness and drying conditions influence shrinkage and the risk of warping or cracking.
Glaze composition, application technique, and kiln conditions also affect the final colour, surface texture, and finish. Even small differences in these stages can produce noticeable results, making each handmade piece distinctive.
Frequently Asked Questions About How Pottery Is Made
What are the main steps in making pottery?
The main steps include preparing the clay, shaping it, refining the details, drying it thoroughly, bisque firing, glazing or decorating, and completing the final kiln firing. Each stage helps transform workable clay into a finished ceramic piece.
How long does it take to make pottery from clay?
Why does clay need to dry before firing?
What is the difference between greenware and bisque pottery?
Does every ceramic piece need to be glazed?
Why does pottery sometimes crack during drying or firing?
Can beginners learn how to make pottery?
Explore Pottery Making at Mini Pottery Studio
Understanding how pottery is made gives you a greater appreciation for the time, care, and craftsmanship behind every ceramic piece. From preparing the clay to shaping, drying, glazing, and firing, each stage contributes to the final result.
You don’t need previous experience to begin exploring pottery yourself. At Mini Pottery Studio in North York, Toronto, you can explore a hands-on creative experience through beginner pottery classes and learn more about working with clay in a welcoming studio environment.
Whether you’re interested in making a handmade mug, creating a matcha bowl, or trying a new creative hobby, pottery offers an opportunity to learn through practice and make something personal.
Your First Pottery Experience Starts Here
Curious about making your own ceramic piece? Explore beginner-friendly pottery experiences at Mini Pottery Studio in North York, Toronto, and find a creative activity that interests you.